
Urban foragers should test soil before harvesting wild edibles by checking pH (aim for 6.0-7.5), nutrients, and most critically, heavy metals like lead. Use DIY soil testing kits with colorimetric strips for initial assessments, but don't rely solely on these for contaminated areas. Take multiple samples in a zigzag pattern, mix thoroughly, and retest every 3-5 years. If contamination is found, consider raised beds with clean soil as an immediate solution. The following guide covers everything you need for safe urban harvesting.
Essential Soil Tests for Urban Food Safety
When growing food in urban environments, your soil's health directly impacts the safety of what you harvest. Start with a soil pH test to verify levels fall between 6.0 and 7.5, the ideal range for most edible plants to access nutrients.
Next, conduct a nutrient assessment to measure nitrogen, phosphorus, and potassium levels, allowing you to apply targeted soil amendments.
Don't skip heavy metals testing—urban areas often contain lead, arsenic, and cadmium that can contaminate your harvest.
A simple DIY soil texture test will help determine your soil's composition, affecting how water and nutrients behave in your garden.
For urban gardening success, remember to repeat these soil testing procedures every 3-5 years to track changes and maintain safe growing conditions.
DIY Heavy Metal Detection Methods for City Foragers
Although foraging in urban environments offers abundant harvests, you'll need to verify your soil is free from dangerous contaminants first.
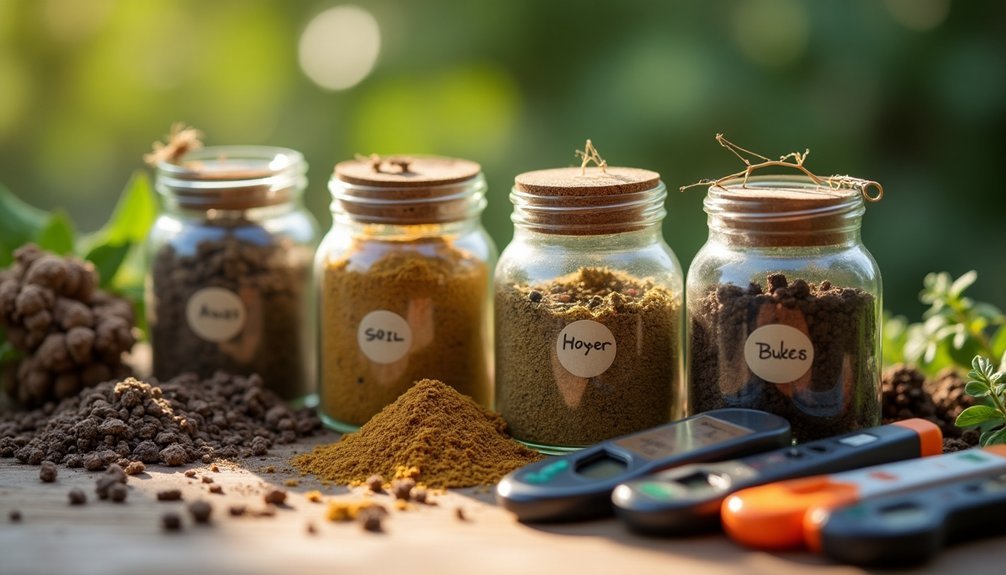
Start with DIY soil testing kits that include heavy metal detection strips, which can identify lead, cadmium, and arsenic in urban soils.
These affordable soil test kits use colorimetric reactions—simply mix soil samples with reagents and observe color changes indicating specific metals.
While these provide a good preliminary assessment of your foraging area, don't rely solely on them for conclusive results.
For accuracy, send samples to specialized laboratories, especially if initial tests suggest contamination.
Remember to test multiple spots within your foraging area, as heavy metal contamination is often localized.
Regular testing is essential, particularly in locations with industrial history or high traffic volumes.
Interpreting Soil Ph and Nutrient Levels in Urban Settings
Understanding your urban soil's pH and nutrient profile provides the foundation for successful foraging and growing. Most edible plants thrive in soil with pH between 6.0 and 7.5, where nutrients are most accessible.
When your test results arrive, focus first on soil acidity—pH levels outside the ideal range require amendments like lime (to raise pH) or sulfur (to lower it).
Urban soils often have irregular nutrient levels. Examine your N-P-K values against recommended ranges for your target plants. Low nitrogen manifests as yellowing leaves, while phosphorus deficiency produces purple coloration.
Don't rush to apply fertilizers without testing—excess nutrients can harm plants and pollute waterways.
Remember to retest every 3-5 years, as nutrient compositions change over time with amendments and environmental factors.
Collecting and Preparing Urban Soil Samples
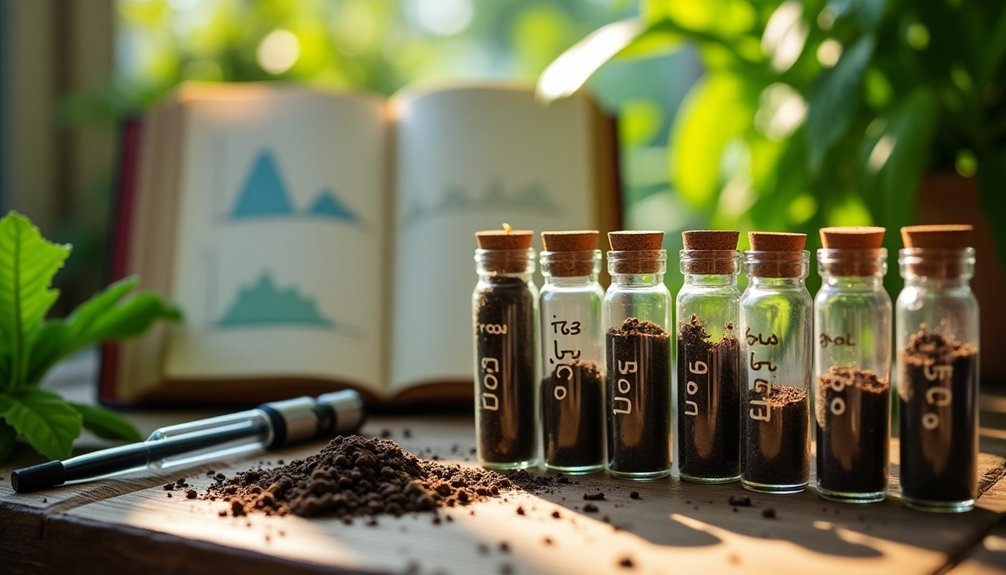
Five key steps guarantee accurate soil testing results from your urban environment. When collecting your soil sample, use a clean garden trowel to dig approximately 6 inches deep—this depth captures the root growth zone where plant nutrient absorption occurs.
For proper soil sampling:
- Take multiple samples in a zig-zag pattern across your foraging area to avoid bias.
- Mix all samples thoroughly in a clean plastic bucket to create a composite sample.
- Transfer about one cup of the mixed soil to a sample box.
- Label the box clearly with location details and intended plants.
Don't forget to include the completed information sheet and payment before sending to the soil testing laboratory.
This systematic approach guarantees you'll receive accurate, tailored recommendations for your urban garden.
Amending Contaminated Soils for Safe Foraging Areas

Once you've identified contamination in your urban soil, you'll need to take specific remediation steps before safely foraging for edibles. Adding organic matter, particularly compost, helps bind toxins and improves soil health over time.
| Amendment Method | Purpose | Timeframe |
|---|---|---|
| Compost addition | Binds heavy metals, improves soil structure | 6-12 months |
| Raised beds | Creates barrier from contaminated soil | Immediate |
| Cover crops | Enhances soil health, reduces erosion | 3-4 months |
For severely contaminated soil, construct raised beds using clean materials and fill with uncontaminated soil. This creates a safe environment for foraged plants while the original soil undergoes remediation. Remember to continue regular soil tests every 3-5 years to monitor improvement and guarantee your urban foraging remains safe and sustainable.
Frequently Asked Questions
How to Perform a Soil Test at Home?
You can test your soil at home by checking texture with a jar settlement test, using vinegar and baking soda for pH, buying nutrient test kits, counting earthworms, or collecting samples for lab analysis.
Are DIY Soil Tests Accurate?
DIY soil tests provide general insights but aren't as accurate as lab tests. You'll get approximate pH and texture information, but they won't reveal precise nutrient levels or contaminants that could affect your urban foraging safety.
How to Do Your Own Soil Sampling?
Collect soil samples from multiple locations using a clean bucket, digging 2-3 inches deep for lawns and 6 inches for trees. Mix thoroughly in a zigzag pattern to guarantee you're getting a representative sample.
What Are the 4 Methods of Soil Sampling?
You can use four main soil sampling methods: composite sampling, zig-zag pattern sampling, depth-specific sampling (2-3" for lawns, tilling depth for gardens), and drip-line sampling for trees and shrubs.
In Summary
You're now equipped to safely navigate urban foraging through responsible soil testing. Whether you're checking for heavy metals, analyzing pH levels, or collecting proper samples, these DIY methods empower your food safety decisions. Remember, contamination doesn't always mean abandonment—strategic amendments can transform problematic areas. Trust your test results, make informed choices, and enjoy the urban harvest with confidence and peace of mind.


Leave a Reply