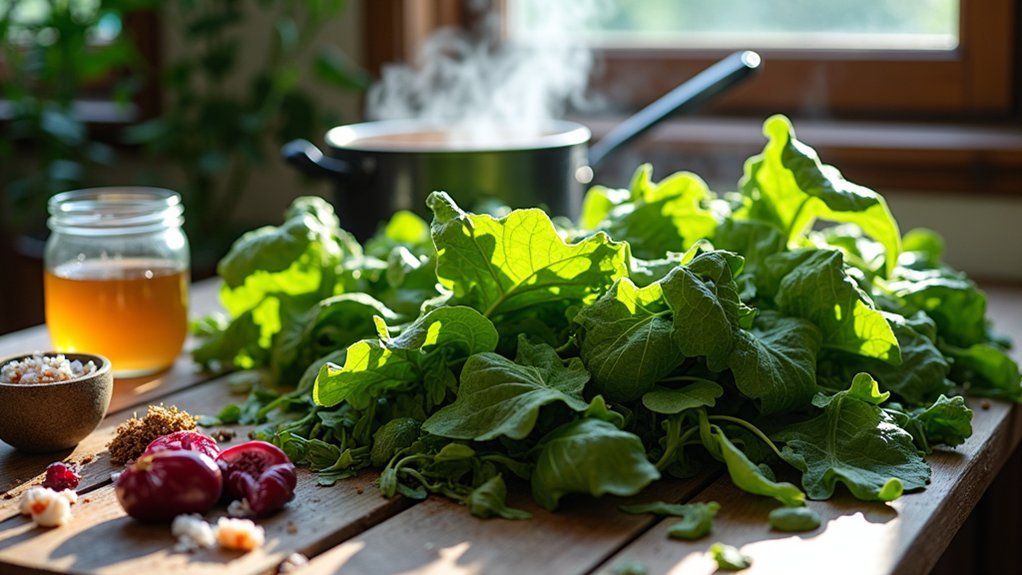
To safely ferment wild-picked greens, properly identify your plants first using reliable guides. Harvest from clean locations away from pollution. Clean thoroughly with a vinegar-water solution. Use a 2% salt ratio (0.02 × weight of greens) and guarantee all plant material stays submerged in brine. Monitor for bubbling and pleasant tanginess while skimming any white film. Store in small jars in cool places after fermentation completes. These simple steps transform foraged plants into probiotic-rich, versatile culinary additions.
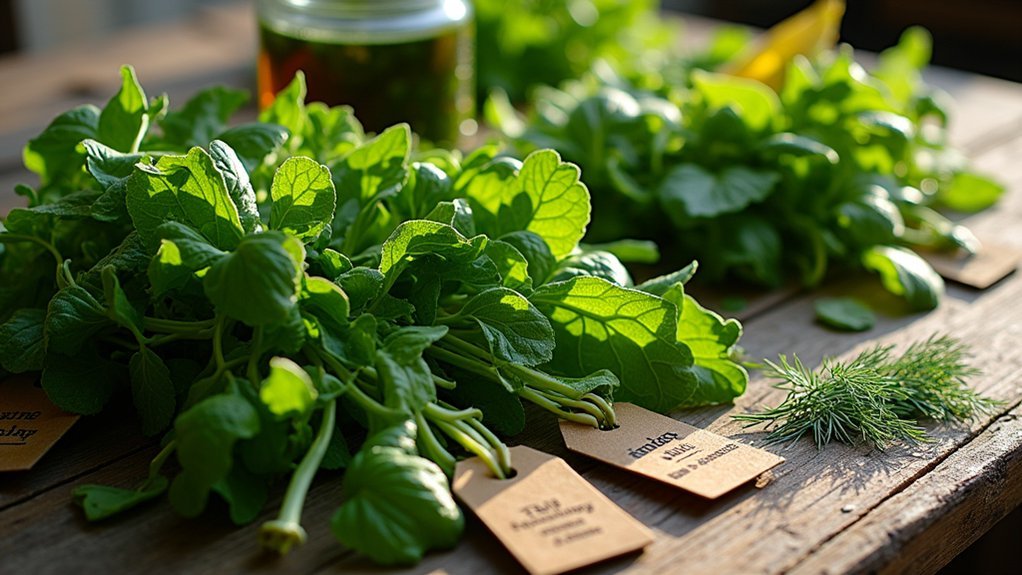
Properly Identifying Wild Greens: Know Before You Ferment
[TEXT]:
Why risk your health when foraging for wild ferments? Properly identifying wild greens is your first and most essential step. Confusion between edible plants like dandelion and their toxic lookalikes can lead to serious consequences.
Always consult local plant guides or experts to confirm what's safe to eat. Study different kinds of wild greens by examining their distinctive leaf shapes, flower structures, and growth patterns.
Once identified correctly, wash wild greens thoroughly to remove contaminants, dirt, and potential pesticides before fermentation.
When you start with small quantities of newly discovered greens, you can monitor the fermentation process while also checking for any personal sensitivities.
Harvest during spring or early summer when greens are at their tender, flavorful peak, and avoid any wilted or damaged specimens.
Harvesting Guidelines: When and Where to Collect Urban Greens
Urban foraging for wild greens requires attention to both timing and location to guarantee ideal results.
You'll want to harvest during spring and early summer when greens are abundant, collecting them in the morning for maximum freshness.
Always choose locations away from traffic, industrial areas, and places likely treated with chemicals to protect yourself from harmful contaminants.
Urban Foraging Seasons
When the first hints of spring emerge in urban environments, wild greens begin their annual cycle of growth, offering foragers a precious window for collection.
Early spring yields the most tender and flavorful wild plants, perfect for fermenting projects that cultivate good bacteria. During this prime season, dandelion greens, nettles, and wild garlic reach their nutritional peak before developing bitter compounds.
As you plan your urban foraging schedule, remember that spring and early summer provide ideal harvesting conditions when plants contain the highest vitamin content.
By midsummer, many greens become tough and less palatable. Practice sustainable foraging by harvesting selectively and returning to the same locations throughout the seasons to understand growth patterns.
This cyclical approach guarantees you'll develop timing intuition while respecting natural regeneration cycles that keep urban ecosystems thriving.
Location Safety Concerns
The safety of your harvesting locations directly impacts the quality of your fermented greens. Always avoid gathering wild greens near busy roadways or industrial areas where pollution levels can contaminate plants and compromise your fermentation process.
Instead, focus your harvesting efforts in clean environments like nature reserves, parks, or private lands (with permission) that haven't been treated with pesticides or other chemical treatments.
The spring and early summer months typically offer the most nutritious and tender greens for ideal fermentation results.
Before you begin collecting, research local regulations regarding urban foraging. Some areas require permits or have restrictions on plant collection.
Most importantly, learn to accurately identify your target plants, as toxic look-alikes can pose serious health risks when fermented and consumed.
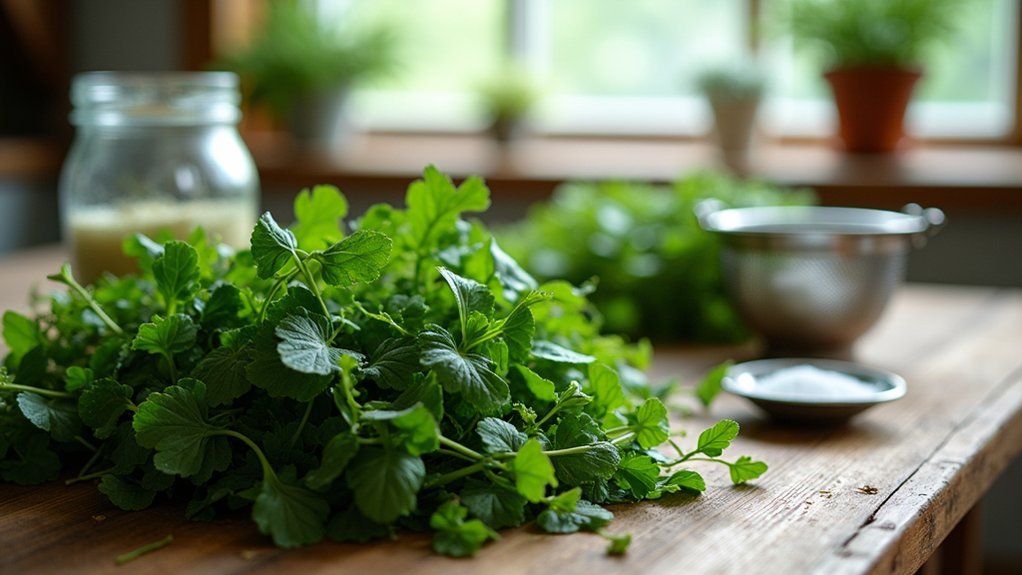
Essential Cleaning Techniques for Wild-Picked Plants
Three critical cleaning steps separate successful wild fermentation from potential disaster.
First, thoroughly rinse your wild-picked greens under running water to remove dirt, insects, and contaminants that could jeopardize your ferment.
Proper rinsing eliminates environmental debris that could turn your wild fermentation experiment into a microbial battleground.
Next, soak the greens in a 1:3 water-vinegar solution for 10-15 minutes to eliminate lingering pesticides and harmful bacteria. During this process, carefully inspect each leaf, discarding any wilted, damaged, or spoiled portions that might introduce unwanted bacteria.
Finally, use a clean towel to pat the greens dry or spin them in a salad spinner to remove excess moisture. Avoid chlorinated tap water throughout this process—opt for filtered or distilled water instead to prevent chemical residue from interfering with fermentation.
These meticulous cleaning practices guarantee your wild ferments will be both safe and delicious.
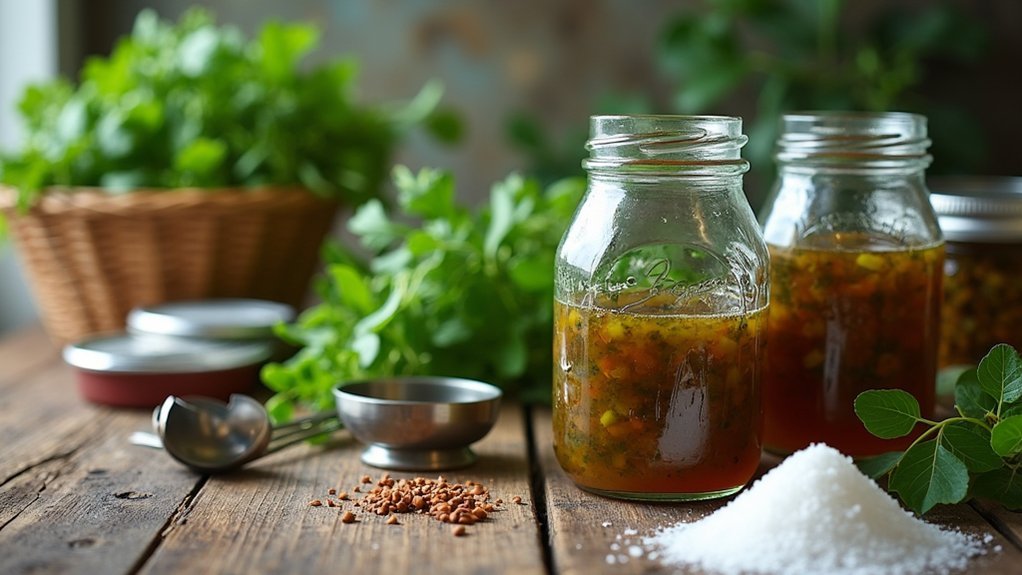
Salt Ratios and Brine Preparation for Safe Fermentation
Proper cleaning sets the stage for successful fermentation, but accurate salt measurement becomes your next critical ally in the wild fermentation process. For fermented wild greens, maintain a 2% salt ratio—simply multiply your greens' weight by 0.02 to calculate the exact amount needed.
Dissolve your salt in a small quantity of water first, then mix thoroughly with your greens to promote even distribution. Allow this mixture to rest for 20-60 minutes, during which the salt draws out the plants' natural juices.
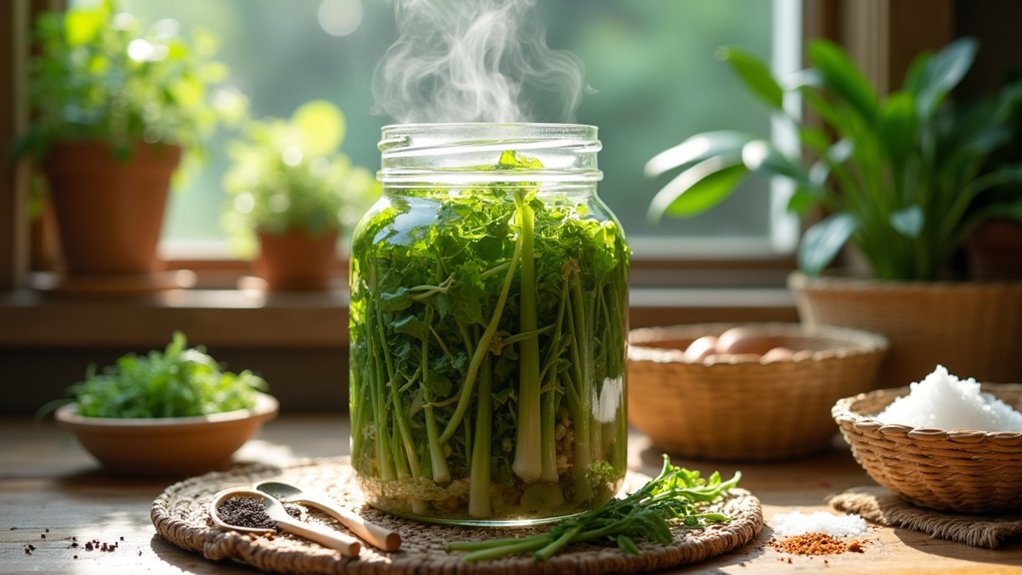
Pack everything tightly into jars, ensuring you've created an anaerobic environment with enough liquid to cover all plant material. If the natural juices aren't sufficient, add mineral water to maintain proper submersion levels.
This careful brine preparation creates ideal conditions for beneficial bacteria while inhibiting harmful microorganisms.
Equipment and Tools for Successful Wild Green Preservation
Successful fermentation of wild greens depends fundamentally on creating the right environment, starting with your equipment selection. You'll need clean glass jars or fermentation crocks that create an anaerobic environment while letting gases escape. Always sanitize utensils with boiling water before beginning the fermenting process.
| Essential Equipment | Purpose | Maintenance |
|---|---|---|
| Glass jars/crocks | Creates anaerobic environment | Sanitize with boiling water |
| Weights (glass holders) | Keeps greens submerged | Clean between uses |
| Small plastic basket | Allows drainage, blocks air | Rinse thoroughly |
| Thermometer | Monitors ideal temp (70-75°F) | Calibrate regularly |
Keep your greens submerged using weights, as exposure to oxygen leads to spoilage. Add a bit of salt to draw out moisture and encourage beneficial bacteria growth. Proper equipment guarantees your fermented foods remain safe and delicious.
Monitoring the Fermentation Process and Signs of Success
You'll notice your wild greens ferment bubbling within the first few days, a promising sign that beneficial bacteria are hard at work transforming your foraged bounty.
As fermentation progresses, the brine will become cloudy and develop a pleasant, tangy aroma that intensifies over time.
Trust your senses during this process—smell for the characteristic sour scent, listen for the subtle fizzing, and eventually taste for that perfect balance of tartness that indicates a successful wild greens ferment.
Bubbling and Brine Changes
The most exciting part of fermenting wild greens begins within the first 24-48 hours when bubbling activity becomes visible. This effervescence signals that beneficial bacteria are hard at work, creating the acidic environment vital for proper fermentation and safety.
As fermentation progresses over the 7-10 day period, you'll notice the brine may decrease slightly. It's essential to keep your greens fully submerged by adding mineral water when needed. This maintains the anaerobic environment that beneficial bacteria thrive in.
Watch for a white film developing on the surface—this is typically harmless wild yeast that you can simply skim off. However, if colorful or furry growth appears, discard the batch.
Your completed ferment should have a pleasantly tangy aroma and a pH below 4, indicating it's successfully preserved.
Trust Your Senses
How confidently can you navigate the mysterious world of fermentation without specialized equipment? Your senses are your most reliable tools. Trust your senses throughout the process—a pleasant, tangy aroma and bubbling activity signal that fermentation is progressing well.
Monitor for any signs of spoilage like fuzzy molds or off smells. If detected, discard the batch immediately as they indicate harmful bacteria.
Starting from day three, taste the ferment regularly to track its flavor development. You're aiming for that desirable tartness reminiscent of sauerkraut.
Watch the liquid level closely. If your greens aren't submerged after several hours, add a small amount of mineral water to prevent spoilage.
Successful ferments should maintain a crunchy texture—mushiness is never a good sign and suggests something has gone wrong.
Storage Solutions and Enjoying Your Fermented Wild Greens
After your wild greens have reached their perfect fermentation point, it's crucial to store them properly to maintain their delicious flavors and beneficial properties.
Transfer your fermented wild greens into small jars to minimize air exposure and extend shelf life. Always keep things submerged in their juice to cover the greens completely, using weights if necessary to prevent mold growth.
Store your ferments in a cool, dark place, and refrigerate after opening. With proper storage, they'll last for months and enhance numerous dishes.
Try these delicious ways to enjoy your wild ferments:
- Add to salads for a tangy, probiotic boost
- Use as flavorful condiments alongside grilled meats
- Mix into dips or spreads for an unexpected flavor dimension
Frequently Asked Questions
How to Ferment Wild Greens?
You'll start by washing fresh, wild greens thoroughly. Salt them at 2% of their weight, massage until juicy, pack tightly in jars submerged in their liquid, and ferment 7-10 days at room temperature.
How Do You Ferment Vegetables Safely?
To ferment vegetables safely, you'll need to clean equipment thoroughly, use proper salt ratios, keep everything submerged in brine, maintain ideal temperatures between 70-75°F, and monitor pH levels to guarantee it's below 4.
What Are the Steps of the Fermentation Process?
You'll clean and shred vegetables, salt them to extract moisture, massage until darkened, pack in jars with brine, cover loosely, ferment at room temperature, taste periodically, and refrigerate when done to your liking.
Are Mason Jars Safe for Fermentation?
Yes, mason jars are safe for fermentation. They're non-reactive glass containers that won't leach chemicals into your food. Use wide-mouth jars with loose lids to allow gases to escape while keeping contaminants out.
In Summary
You've now got all the knowledge to safely transform wild greens into delicious, probiotic-rich ferments. By following these seven steps—from proper identification to ideal storage—you'll create nutritious preserves while connecting with traditional food practices. Trust your senses during the fermentation process, and don't be afraid to experiment with seasonal varieties. Your wild-fermented greens aren't just food—they're a delightful adventure in sustainable eating.


Leave a Reply